Skip to content

We use cookies to improve your experience on our website. See our privacy policy.

  • Games
  • Guides
  • Support
  • Webcams
  • Pricing
    • Get Started
    • Extensions
    • Developers
    • Affiliates
    • Blog
Account Steam TRY RISK-FREE
  • Games
  • Guides
  • Support
  • Webcams
  • Pricing
    • Get Started
    • Extensions
    • Developers
    • Affiliates
    • Blog
    • Standalone · Account
    • Steam
TRY RISK-FREE

GET STARTED

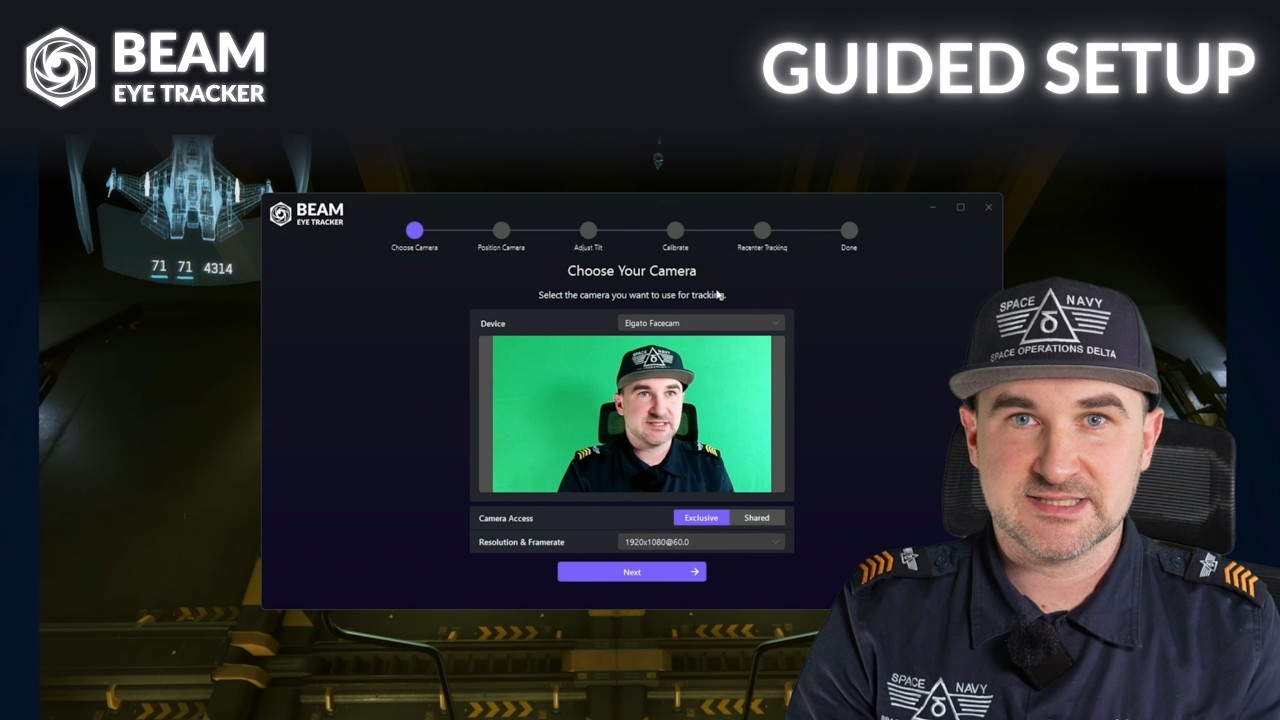
Follow the Guided Setup to experience eye tracking in minutes.
Beam Eye Tracker Guided Setup Walkthrough

Open the Beam Eye Tracker, go to Tracker > Guided Setup, and click Get Started.Requires v2.5.5 or newer.
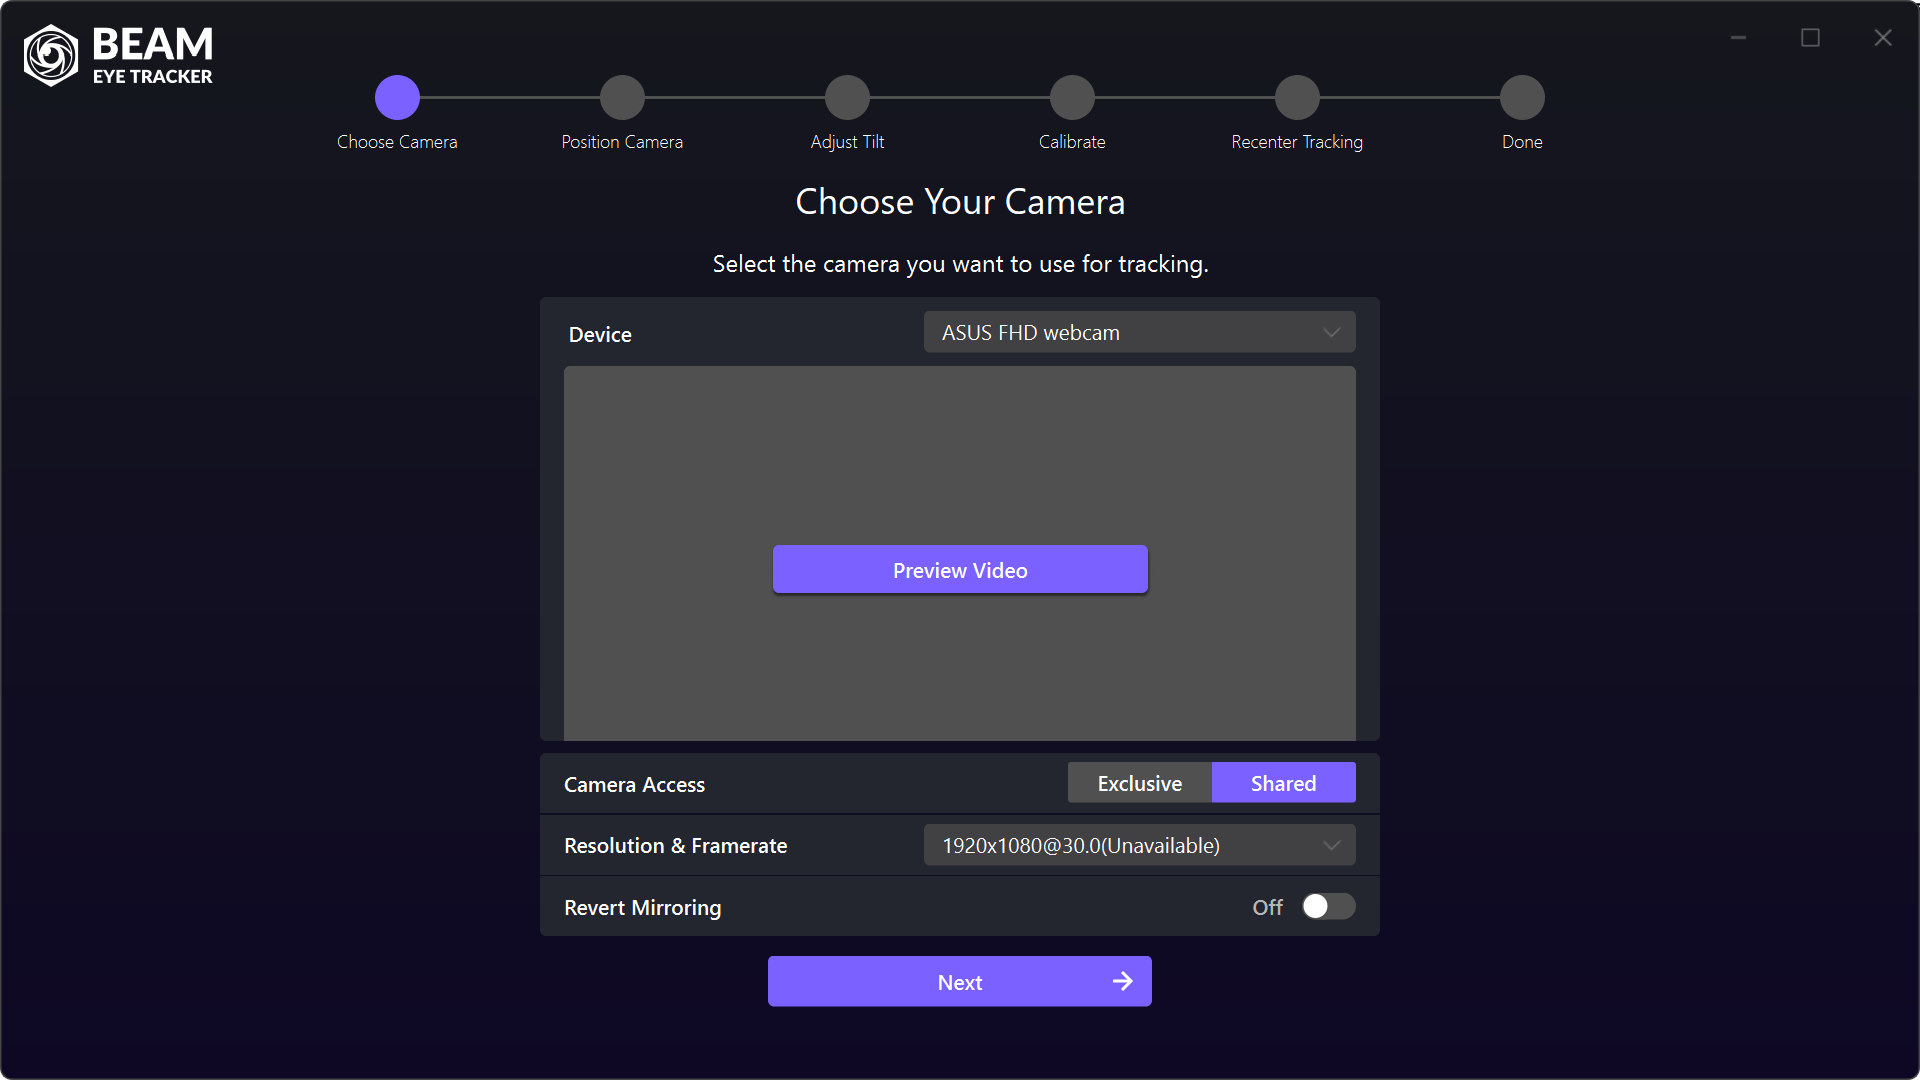
Beam Guided Setup: Choose Your Camera
Step 1

Choose Your Camera

Select the camera you want to use for tracking.
Any webcam or phone works. Past 1080p, prefer increasing frame rate over resolution for smoother tracking. Higher resolution adds processing load without much benefit. On a Mac, select Grant Permission if Beam asks for camera access.
Beam Guided Setup: Position Camera
Step 2

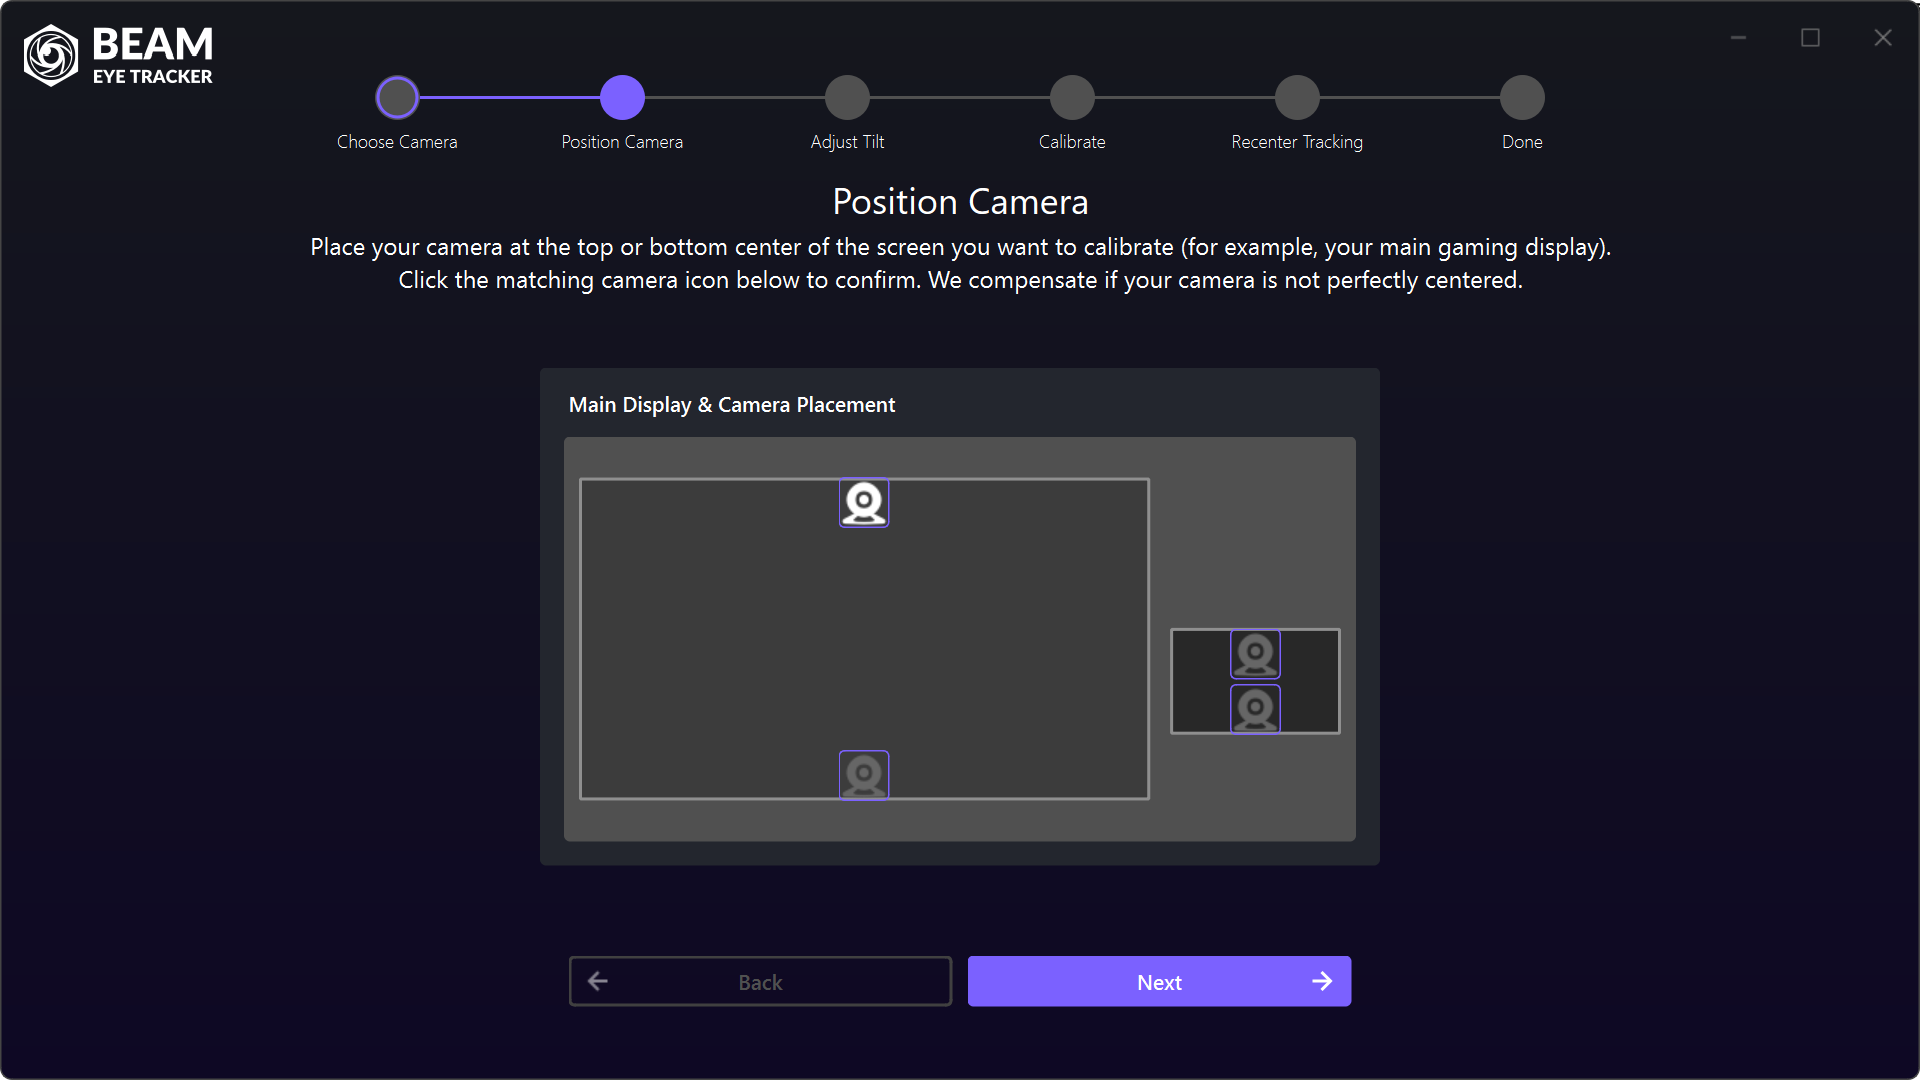
Position Camera

Place your camera at the top center of your main gaming display and select the matching camera position. Beam compensates if your camera is not perfectly centered.
If your camera can't see your eyes well from above (glasses rim blocking the view, glare, a cap, or a steep downward angle), try placing it at the bottom of the screen instead.
Beam Guided Setup: Adjust Camera Tilt
Step 3

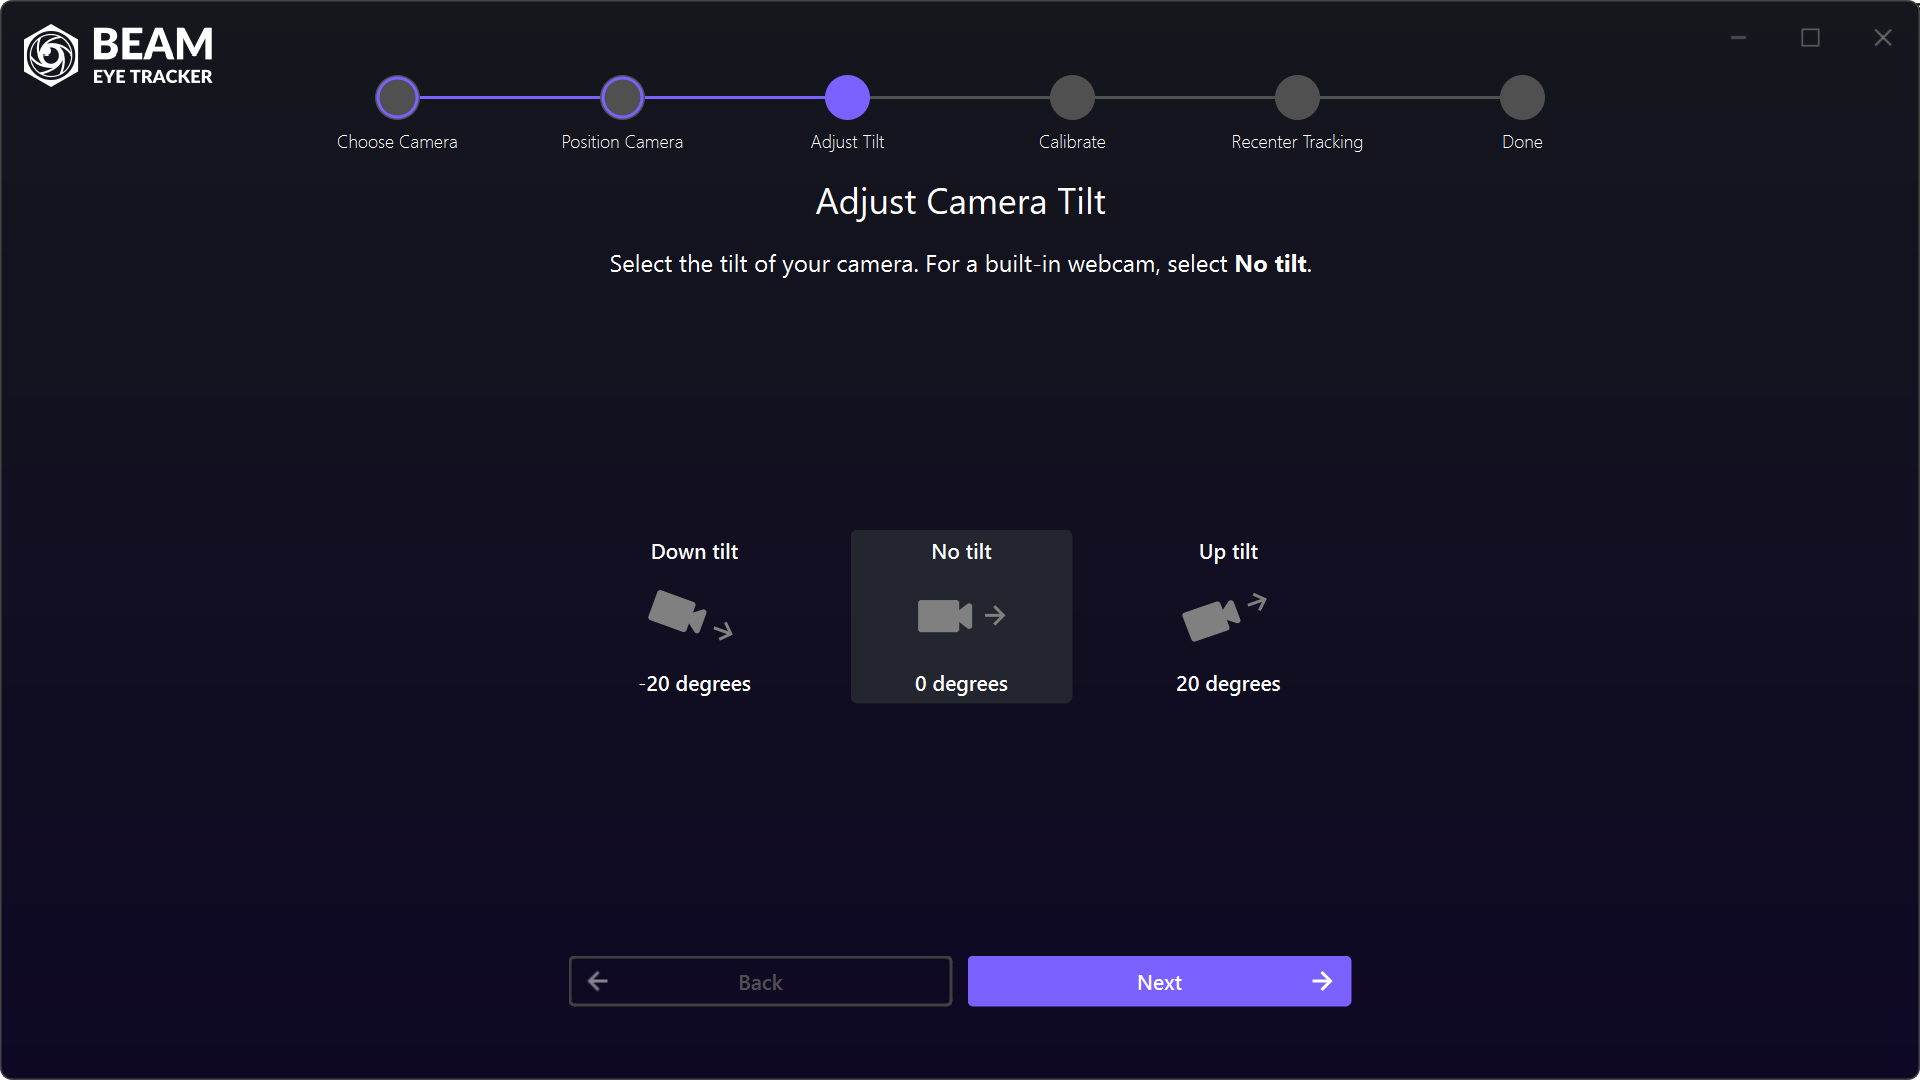
Adjust Camera Tilt

Select the tilt of your camera. For a built-in webcam, select No tilt.
If your external webcam is angled downward, pick the tilt that roughly matches.
Beam Guided Setup: Start Calibration
Step 4

Start Calibration

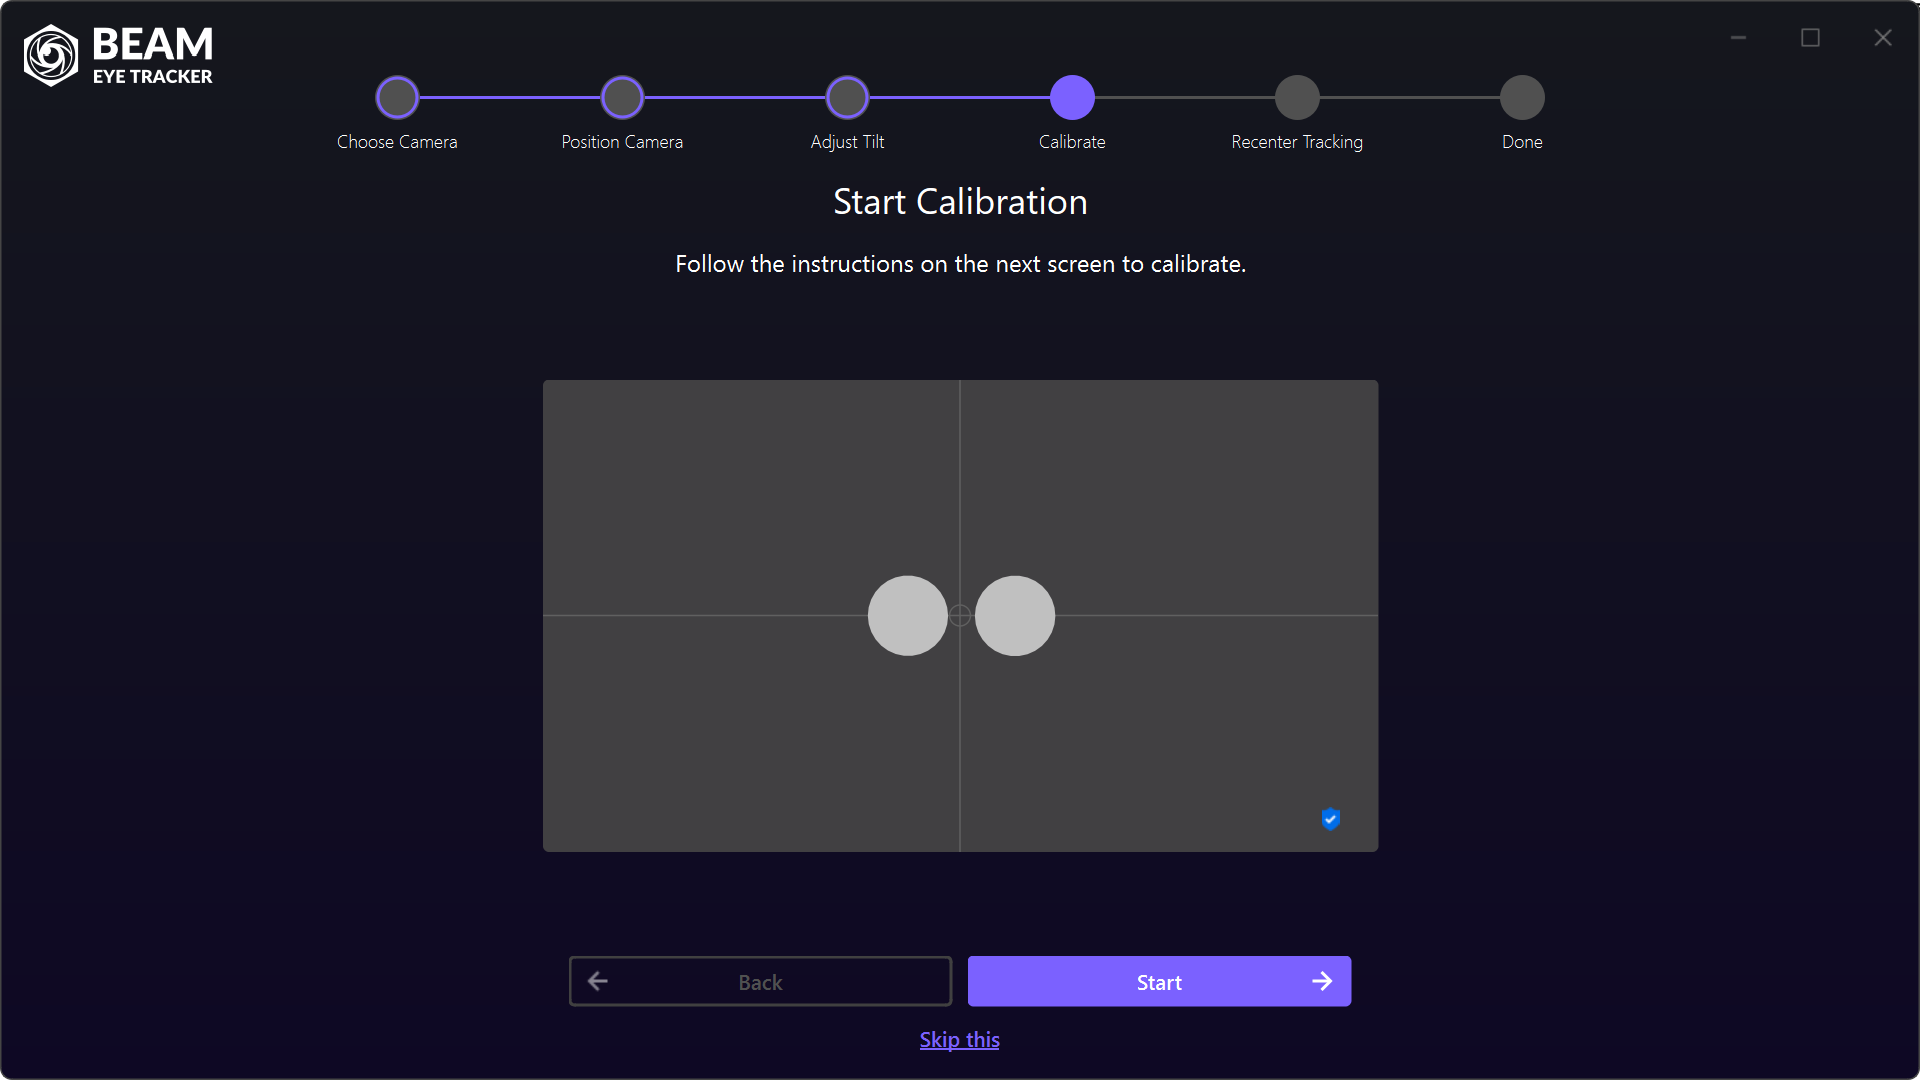
When you reach this screen, you should see two grey eye blobs in the camera preview. That means Beam is detecting your face. Click Start to begin calibration.
If the eye blobs aren't visible, check that you're showing in the camera preview, that your camera tilt is correct, and that your face is well lit. If it still doesn't work, try holding the camera in front of your face to confirm detection.
Beam Guided Setup: Calibration in Progress
Step 5

Calibrate

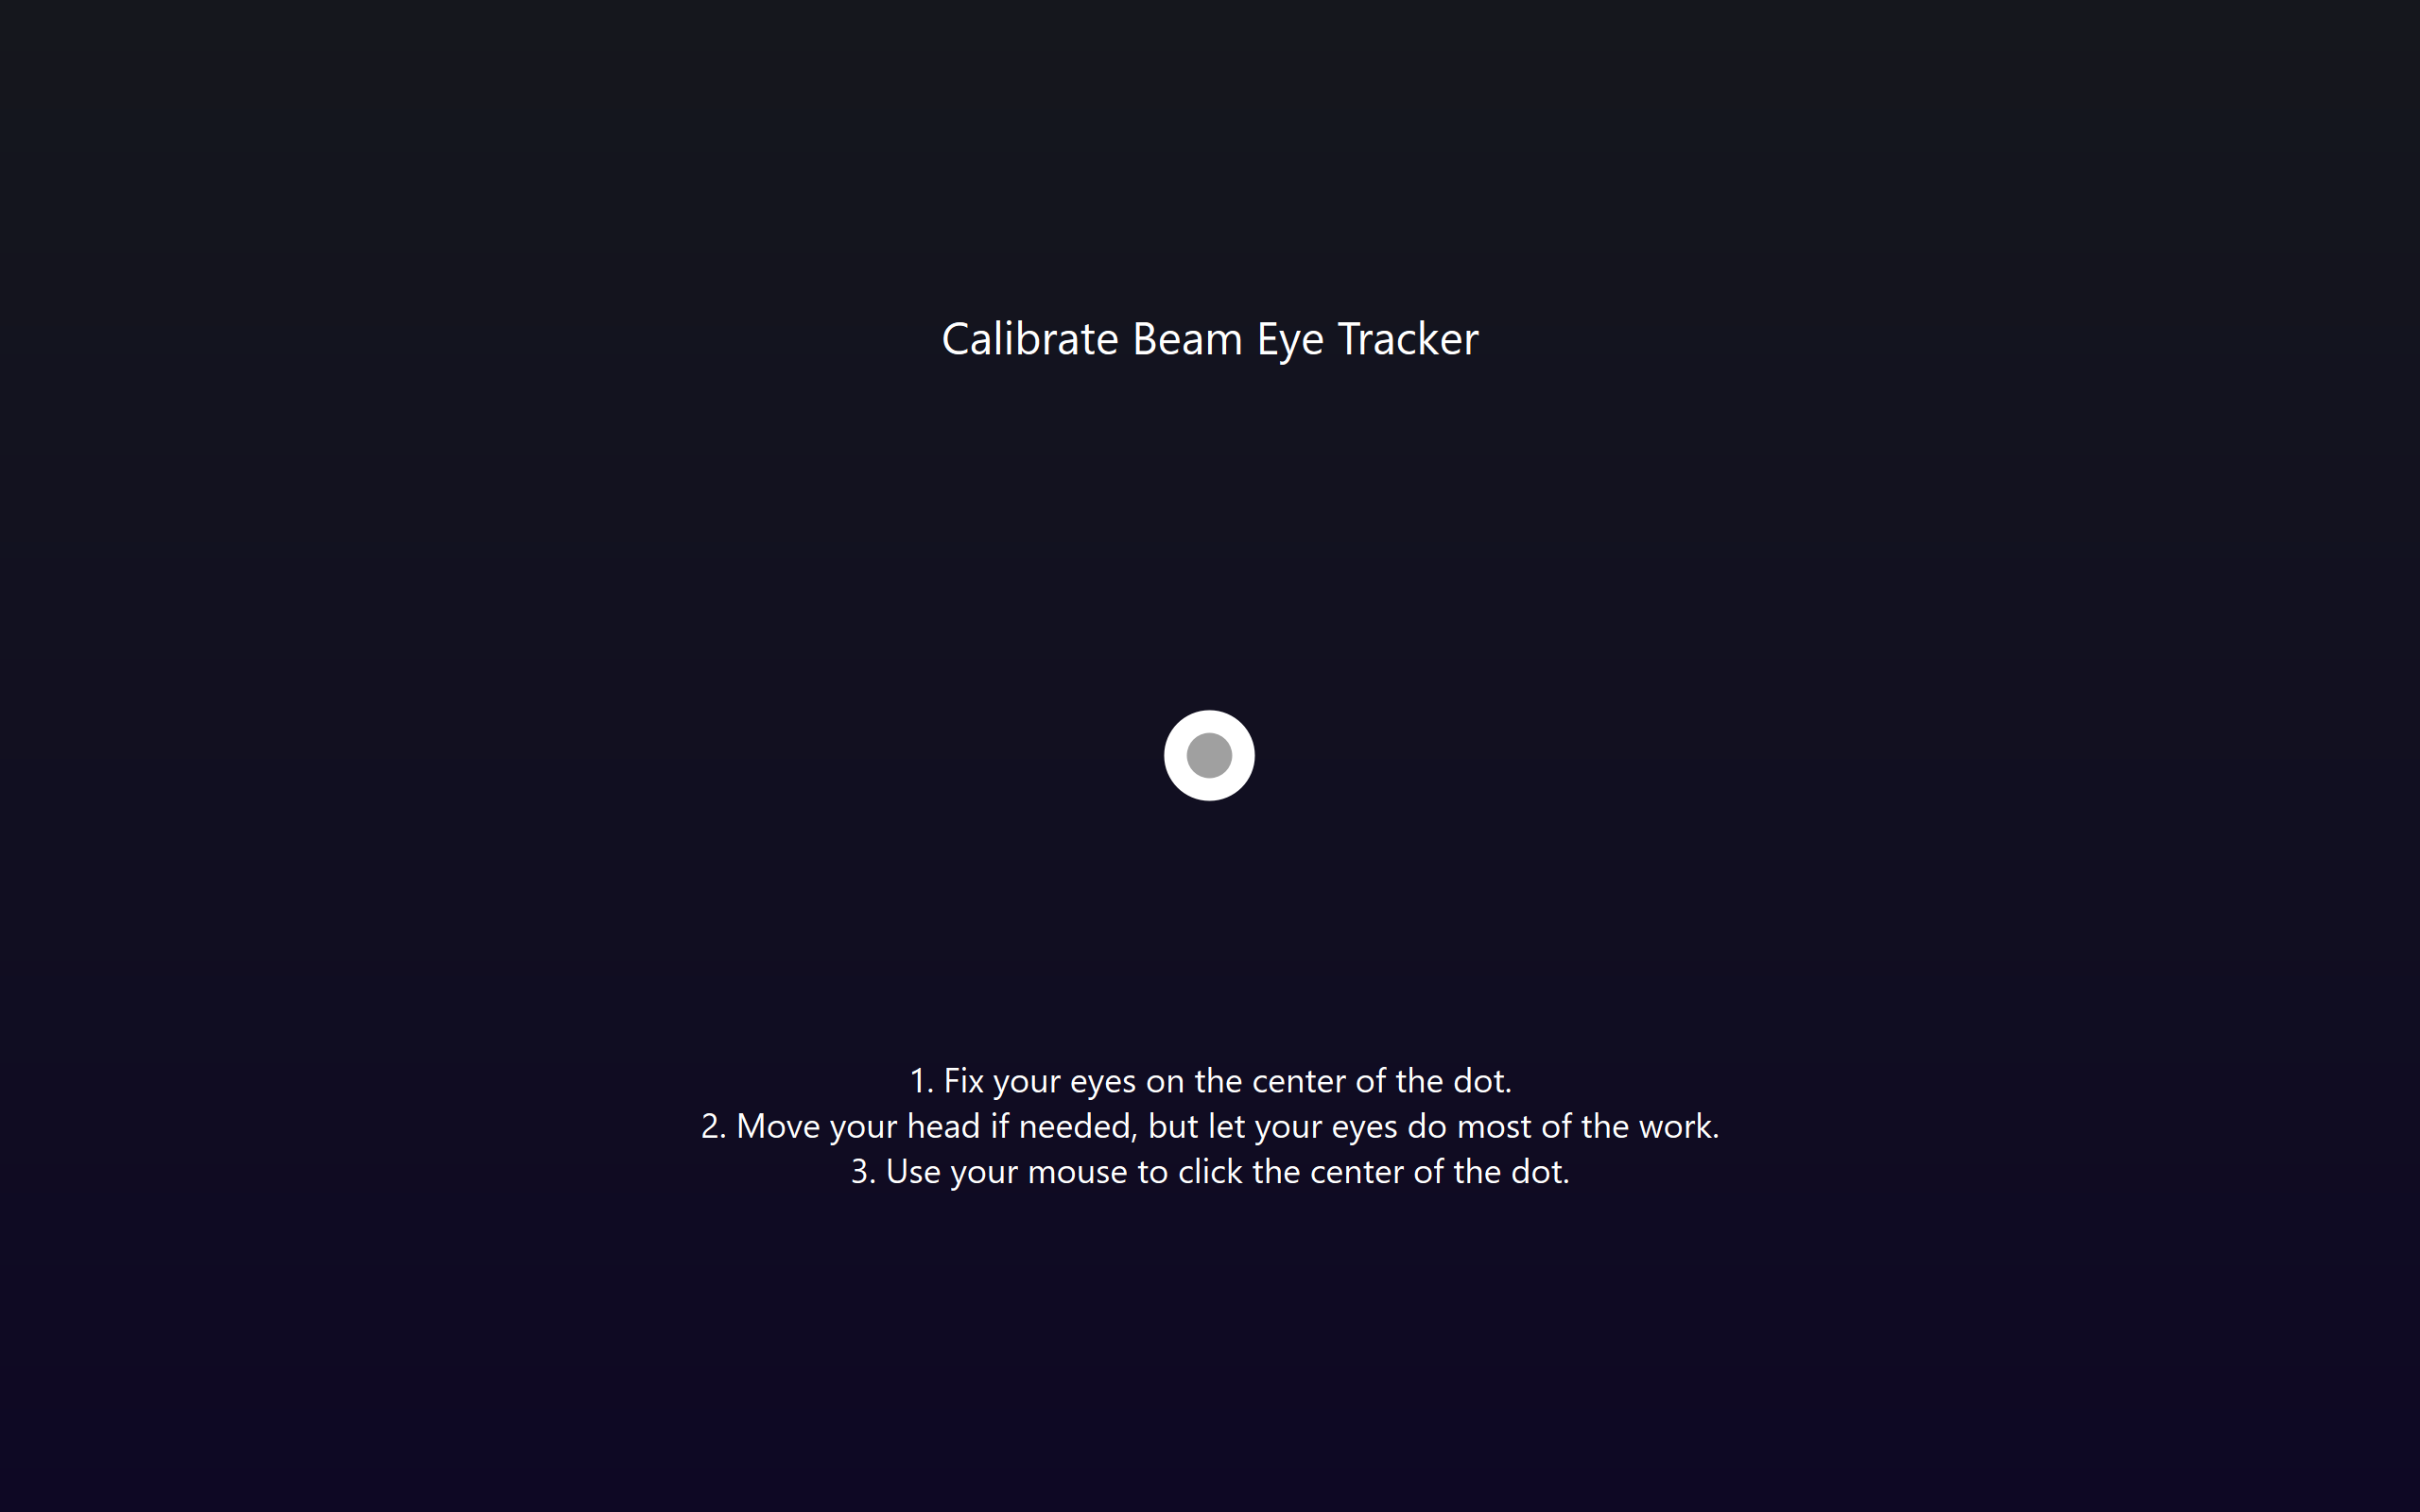
Five calibration dots will appear one by one. Fix your eyes on the center of each dot. Move your head if needed, but let your eyes do most of the work. Use your mouse to click the center of the dot.
If a dot turns red, the camera has lost sight of your face. Make sure your face is visible and well illuminated. After all five dots are done, the Eye Tracking Overlay will show where you're looking. Don't worry if it's not perfect, you'll still get a great gaming experience.
Beam Guided Setup: Recenter Tracking
Step 6

Recenter Tracking

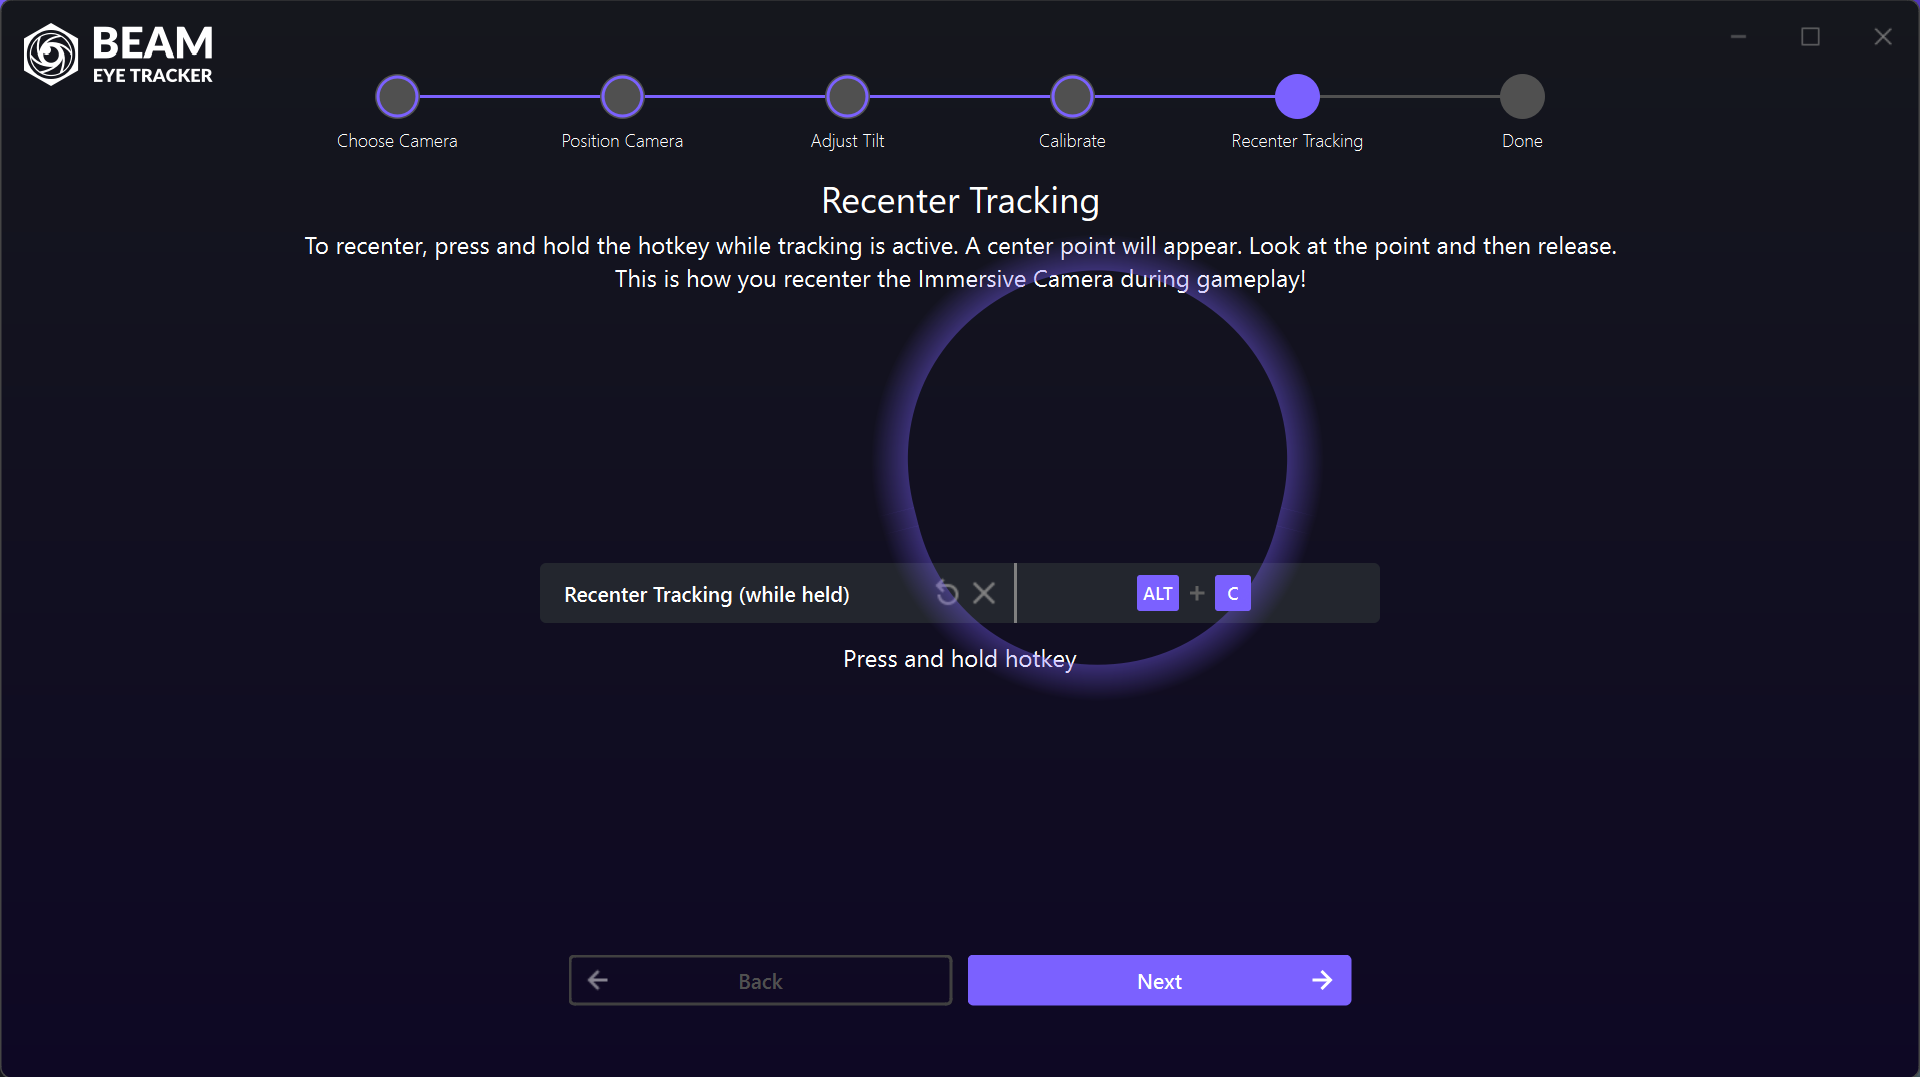
On this screen you'll set your Recenter Tracking hotkey. During gameplay, press and hold it while tracking is active. A center point will appear. Look at the point and then release. This is how you recenter the Immersive Camera.
The default binding is ALT + C. Map this to a button that's easy to reach on your flight stick, wheel, or keyboard. For more immersion, use the Recenter Tracking Overlay transparency slider in Settings to choose how much of the center point stays visible during gameplay. You should still try to look where the point would appear while holding the hotkey.
Beam Guided Setup: Tracker Is Ready
Step 7

Tracker Is Ready!

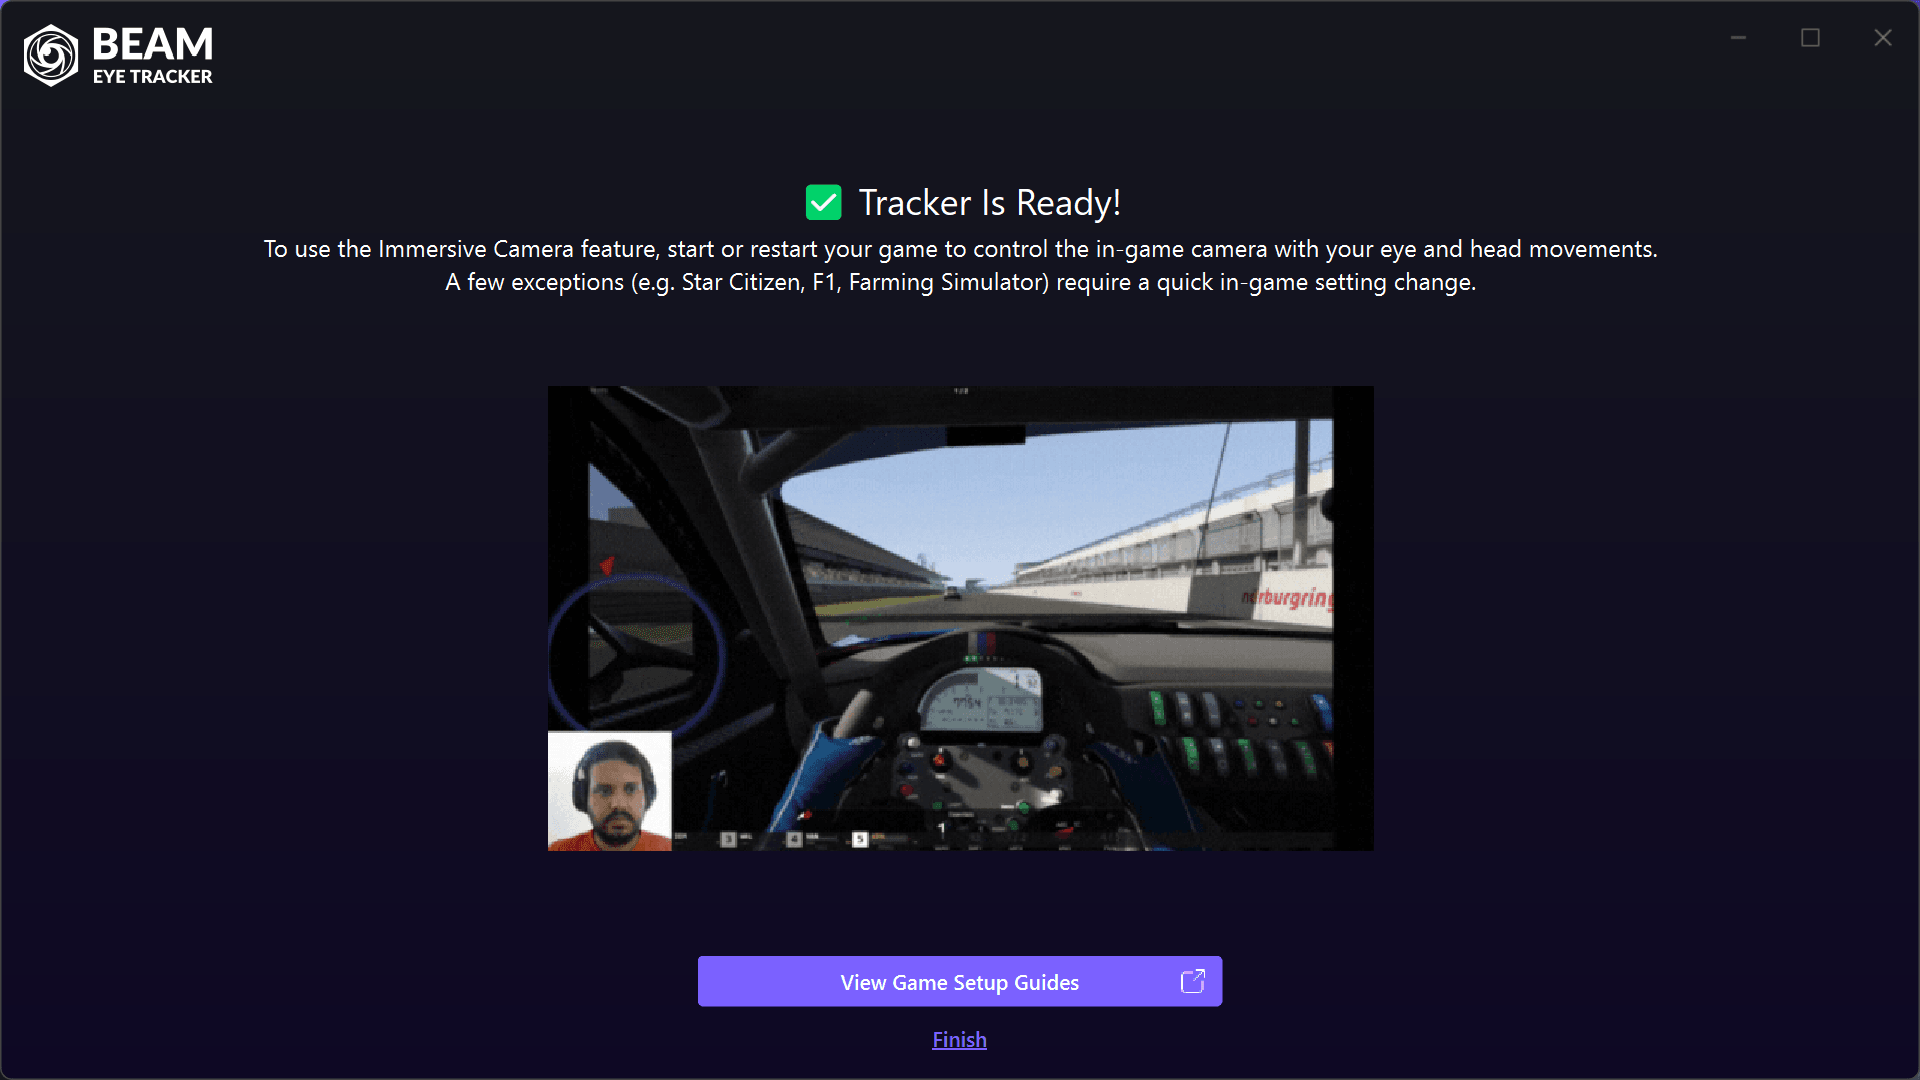
You're all set. Start your game to control the in-game camera with your eye and head movements. A few exceptions (e.g. Star Citizen, F1, Farming Simulator) require a quick in-game setting change.

View Game Setup Guides for compatible games and game-specific instructions. If the game was already running, close and relaunch it so it picks up the Beam Eye Tracker. The relaunch is only needed the first time you install Beam (unless you change the FreeTrack 2.0 protocol registration).
TRY BEAM RISK-FREE

  • Discord
  • Steam
  • Reddit
  • YouTube
  • Twitter
  • Instagram
  • Facebook
  • TikTok
English
  • English
  • Deutsch
  • Español
  • Français
  • Italiano
  • Polski
  • Português
  • Русский
  • 日本語
  • 한국어
  • 简体中文
  • 繁體中文

© Eyeware Tech SA  |  Terms  |  Privacy  |   Swiss Flag  Swiss Software